How to Change Vape Coils Safely?
Like any other accessory, it is no wonder that vape coils wear out or are damaged over time, too. Whether you are someone who is new to the vaping experience or a frequent vaper, maintenance of vape coils is necessary for smooth vaping sessions. Run-down coils, if not replaced, may result in a burnt taste and weak vapor production. We have gathered together some handy tips for you to safely put together your vape coils when damaged.
What is a Vape Coil?
Vape coil is an integral component found in all vape kits and devices, which contains the wicking material, like cotton, that absorbs the e-liquid. When you power on the device, the e-liquid around it heats up, turning it into the vapours you inhale. This heating mechanism is the core function of vaping devices and e-cigarettes. Some may refer to it as an ‘atomizer head’ because it consists of multiple small parts.
Components of the coil:
-
Coil wire made up of Kanthal, Nichrome, or nickel
-
Wicking material like cotton, silica, or mesh for soaking up the liquid
-
Casing of the coil is primarily made of aluminium or stainless steel
- Insulators made from rubber or silicone keep the coil insulated, preventing short circuits.
Is Changing the Coil Necessary?
The coil is an integral part of any vaping device. It serves a key function in heating the e-liquid and converting it into dense vapor clouds. With frequent use, the wick gets mucked up inside the coil with some residue from the e-liquid.
This residue halts the proper functioning of the vape device, resulting in weak cloud production and burnt flavour. Hence, the importance of changing coils.
You can know that you have a defective coil by noticing the following:
-
A metallic or burnt taste from the vape
-
Poor vapor production and flavour
-
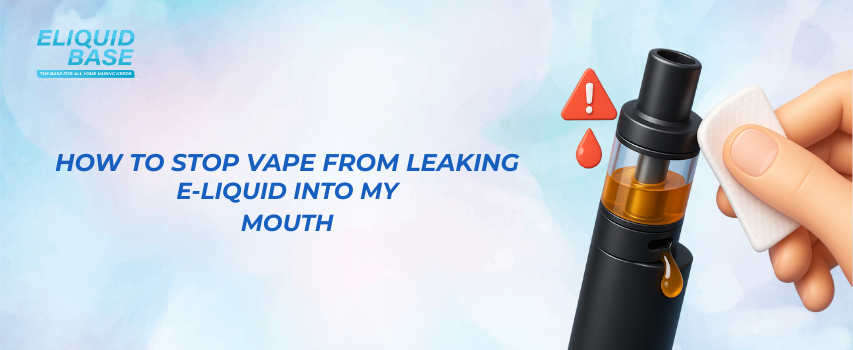
Leakage of e-liquids
-
Gurgling sound from the device
-
Darkening of the e-liquid
What are the Supplies Needed?
Once you sit down to change your vape coils, it is essential to know what items you will be requiring in the process, i.e, as follows:
-
New replacement coil for a specific vape tank and model
-
E-liquid to refill the tank after priming the new coil
-
Tissue and paper towels to keep the surface clean and wipe off any spills
-
Cotton swabs for cleaning the interior of vape tanks
-
Gloves are used to avoid any contamination and maintain hygiene
-
Tweezers and pliers to disassemble
Step-by-Step Guide to Changing Your Vape Coils Safely
-
Power off your device before you begin to disassemble the device to avoid accidental sparks from the coil. Then detach the tank from the battery, removing the mouthpiece and tank safely to access the coil. Remember to change your coils in a cool place with the device turned off to prevent accidental activation
-
Remove the old, damaged coil from the device. Unscrew the coil from its base using a tissue for a better grip. Once removed, discard the damaged coil safely.
-
Priming the new coil is an essential and much-needed step. Before you install the new coil, ensure to prime it with a few drops of e-liquid. This is necessary to keep the wick saturated and avoid any dry hits.
-
Now install and screw the new coil into the base but do not overtighten it. After this, reassemble the rest of the parts carefully, like you disassembled them, with each part going into its rightful place.
-
Refill the tank with your e-liquid and reattach the tank to your vape. Let the tank settle for around 5 to 10 minutes for the coil to soak in the liquid completely. This waiting period is crucial because vaping right away will result in the burning of the cotton inside the coil
- Last but not least, power on and vape away!
How frequently should Coils be changed?
The lifespan and health of your vape coil depend on how frequently you vape, the device, and the type of e-liquid you use. Changing the vape coil every 1 to 2 weeks is typical of regular users, while light users may feel the need to change it every 2 to 3 weeks or so. But if you are fond of dark, sweet, and tangy flavours, then you might need to replace your coils more frequently to avoid any gunk build-up.
What can make my Coil Last Longer?
If you are into on-the-go vaping style and get frustrated at the slightest damage to your vape, then remember to avoid chain vaping so you do not exhaust the coil and give it time between puffs. Moreover, priming the new coil, cleaning the tank regularly, vaping at the optimal wattage range, and making use of less sweet e-liquids can help your vape coil last longer, preventing frequent changes.
Final Thoughts
Changing the coil of your vape is a small step that makes an immense difference in your vaping experience. By following the above-mentioned easy steps, you can enhance the performance, lifespan, and flavour of your coil. The next time you experience some leaks or an off-putting taste, worry not! Since it might be time for a new coil.