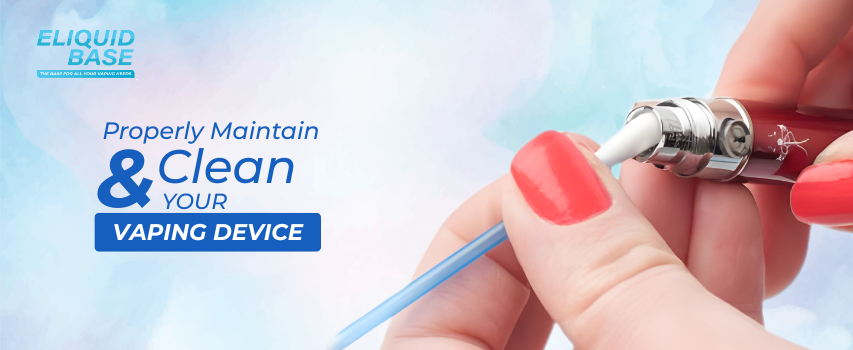
How to Properly Maintain and Clean Your Vaping Device?
Have you suffered from burnt coils or weak vapor production? Then you need to consider cleaning and maintaining your vape device regularly. Why is cleaning vape devices so important? Keeping your vape clean is a simple yet essential maintenance habit every vaper should adopt. Not only does it enhance the flavor of your e-liquid, but it also prolongs the lifespan of your vape.
In this guide, we will provide a comprehensive guide on how to properly maintain and clean different vaping devices. Follow the steps given below and keep your devices in top shape to ensure a satisfying vaping experience.
Why Cleaning Your Vape Devices Matters?
Cleaning and maintaining your vape device is more than a luxury, it is a necessity. Why?
-
If you are changing flavors in the same pod, then the residue of the old flavor may mix up with the new one and ruin your flavorful vaping journey
-
Regular cleaning of your vape tank and battery prevents clogging, leakage, and damage to coils and tanks
-
Proper hygiene of your mouthpiece is essential, as dust, dirt, or bacteria may build up around the mouthpiece, leading to health risks
-
A clean device ensures stronger nicotine delivery, smooth airflow, and better vapor production
What do You Need for Cleaning?
Before cleaning your vape devices, you need to have the following cleaning tools:
-
Soft cotton or fiber-free tissues
-
Cotton swabs or ear cleaning sticks
-
Warm water or 70% isopropyl alcohol
-
Small brush for cleaning the coil or tank
-
Gloves for protection from e-liquids
Step-by-Step Guide to Cleaning Your Vape Device
Let’s begin with a general step-by-step guide to clean and maintain your vaping device.
Disassemble the Device
Initiate the cleaning process by unscrewing all the sections of your vape tank, including pods, mouthpiece/drip tip, coils, glass section, bottom section, and top section, and make sure you do not lose any rubber O-rings from the top or bottom sections.
Clean the Vape Tank
The vape tank is the most important part of your vape device. It holds the e-liquid and the part you put in your mouth. Pour out any leftover e-liquid and rinse the tank or pod under warm water. For deeper cleaning, use a few drops of dishwasher detergent and then rinse thoroughly. After cleaning, dry it with a soft cloth and pat the pod. Allow to air dry completely before reassembling.
Cleaning the Coil
Cleaning the coil is essential as the coils tend to collect and burn out over time. If the coil is very old or burnt out, there is no need to clean it. Simply replace the old coil with a new one. And for cleaning the coil, you can rinse it in warm water or soak it in ethanol for deeper cleaning, and then let it dry.
Clean the Mouthpiece
The mouthpiece is the most important part of any vaping device. It may collect dirt, dust, or bacteria, so cleaning it is crucial, especially if your device is used by many. Rinse under warm water or use an alcohol wipe to remove bacteria and dust.
Clean the Battery
Last but not least, do not forget to clean the battery of your device. For cleaning the battery, use a dry cloth or cotton swab to clean the battery connection points. While cleaning, avoid getting liquid inside the charging port or circuitry.
Reassemble the Device
After cleaning every part of your vaping device, reassemble the device. Fill the pod with new and suitable vape juice to ensure a seamless vaping experience.
How to Clean Different Vaping Devices?
Let’s have a quick look at how to clean and maintain different vaping devices:
Cleaning a Vape Kit
Clean the internal components of your vape kit by following the instructions given above. After you have properly cleaned and assembled the device, clean the body of the device. You can clean the body of your vape kit the same way you clean your mobile phone or TV remote control. It is recommended to have a small spray of antibacterial cleaner on a cloth and then simply wipe the whole device.
Cleaning a Pod Kit
The outside of your pod kit can be cleaned in the same way as cleaning a vape kit. Take a spray of antibacterial cleaner on a piece of cloth and wipe the whole device, except the section that holds the pod. The pod may have some leftover e-liquid inside, and it is important to get rid of it as soon as possible. You can simply take a kitchen towel and mop up any e-liquid inside the pod. You can also use a cotton bud to soak up the final drops.
Vape Pods With Built-in Coils
In the vape pods with built-in coils, you cannot replace the coil separately, and you won’t be able to clean the whole pod easily. In this scenario, you can maintain the pod by just keeping the mouthpiece clean and keeping the sections of the pod with the magnet free from e-liquid. Simply swap the pod with a kitchen roll, or you can use a spray of antibacterial cleaner to keep the germs away.
Vape Pods With Replaceable Coils
In the Vape pods with replaceable coils, you can easily clean and maintain your pod when replacing a coil. It is recommended to always give a thorough cleaning when you replace the coil. Simply remove the coil and rinse the pod in warm water to remove any dirt or remains of e-liquid. Take a kitchen roll or a towel to dry the pod and flick it to remove water. You are done with cleaning your pod. Now, put the pod back and connect it with a new coil.
Final Thoughts
Proper cleaning and maintenance are essential for a safe, smooth, and flavorful vaping experience. You will save money on replacement by giving a few minutes to cleaning your vape device. Follow the steps given above and extend the life of your vape device.
Explore our full collection of coils, pods, pod kits, vape kits, drip tips, and necessary accessories, and enjoy free shipping on orders above £25.